

Our handcrafted historical replicas are made to look and feel like old manuscript pages, maps, and book illustrations, not modern posters. Each one goes through the same four stages: we process the paper by hand, add gold paint details, burn the edges, and seal the surface with beeswax.
This post explains each stage, in the order we actually do them.

Where do the images come from?
Most of our replicas begin as old maps, botanical drawings, city views, medieval artwork, or natural history illustrations from museum archives, library collections, and digitized public-domain sources. We verify the source and usage rights before choosing an image.
Old scans usually carry stains, cracks, faded areas, and marks from the original book page. Before printing, we clean each file: we remove distracting damage, balance the color, and sharpen the details, while keeping the age that gives the image its character. You can see the results across our collections of old maps, botanical art, natural history art, historical art, and historical city views.
Step 1: The Paper
Everything starts with the paper. We process each sheet by hand after printing so it loses the flat, perfect surface of modern paper and takes on a more rugged, parchment-style tone and texture. The exact method took us years to get right, so that part stays in the workshop.
Step 2: Gold Paint Details
Next we add gold paint details with a fine brush. Their job is to highlight selected parts of the image: a cartouche or border on a map, the fruit or title area on botanical art, the decoration on a medieval piece. Historical manuscripts and maps often used metallic details to guide the eye, and this echoes that tradition.
The gold is paint, not real gold, and the amount changes from image to image. Some replicas need only a few small touches. Others can carry more. We decide based on the artwork itself.
Step 3: Burned Edges
Then we burn the edges by hand. Done softly and slowly, this brings the print much closer to an old document or manuscript page than any straight machine-cut edge could. No two edges burn the same way, which is exactly the point.

Step 4: The Beeswax Finish
Finally, we seal the print with beeswax. Our mixture and application are the other thing we keep to ourselves, and the result is honestly not that easy to describe. The surface becomes firmer than plain paper, with a gentle sheen and a slightly protective finish, and the wax deepens the aged character of the piece. It looks and feels older, like something that has been around for a long time. And when the wax is warmed, it softens.
That softening is a practical benefit. If your print arrives with a slight curve or travel crease, warm the surface gently with a hair dryer on a low setting and straighten it out. Go slowly. The goal is to soften the wax a little, not to overheat the paper.
No Two Prints Are The Same
Because every stage is done by hand, each replica comes out slightly different. One may have a darker edge, another a softer paper tone, and the gold catches the light differently depending on where it sits. These are not mass-produced posters. They are finished one at a time, and the variation is part of what you are buying.
What “Parchment-Style” Means
Real parchment was made from prepared animal skin. Our replicas are not, and we do not pretend otherwise. They are made on hand-processed paper finished to carry the look and feel of old parchment: warmer color, visible texture, softened edges, and a waxed surface. The result is easier to frame, easier to ship, and more affordable than a true parchment object.
Custom Sizes
In many cases, yes. Because we print and finish everything ourselves, we can often adjust the size to fit an existing frame or a specific wall. Not every image works at every size, though. Detailed maps with tiny place names need enough room to stay readable, while a simple botanical art may enlarge beautifully. If you have a specific frame or space in mind, contact us with anything we might be able to help you with!
Caring For Your Print
These replicas are stronger than they look, but they are still handmade paper art. Keep them away from direct sunlight, water, and strong heat. Heat can soften the beeswax, so avoid heaters, fireplaces, and hot lamps.
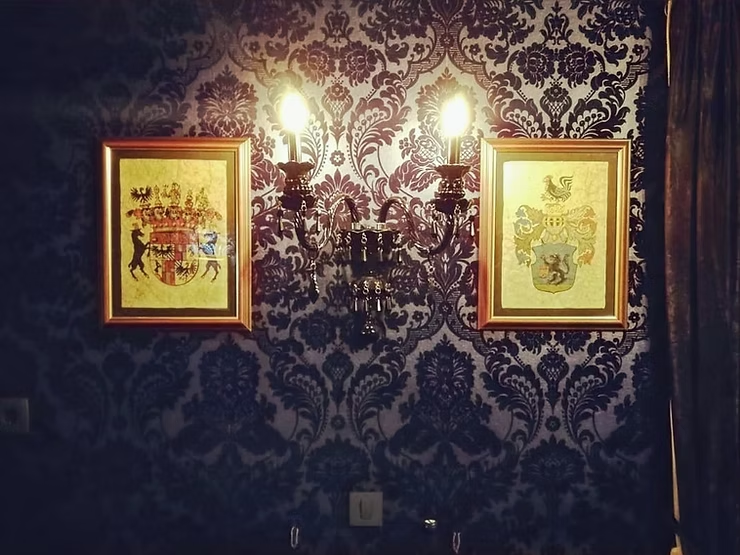
We recommend framing. Glass gives the most protection, and if you want the burned edges visible, ask your framer about floating the print on a backing board. Small bends can be flattened under a heavy book for a day or two, and creases can be fixed with gentle warmth as described above.